

You don’t need a backyard, a charcoal grill, or even good weather to enjoy perfectly charred chicken. That bold, smoky flavor and those irresistible grill marks? You can get all of it right on your stovetop. Whether you’re in an apartment or just need a fast weeknight dinner win, mastering indoor grilling changes everything.
This method delivers juicy, flavorful results every single time no dry, rubbery chicken here. With the right heat control and a simple spice blend, you’ll have one of the best grilled chicken recipes on stove ready in under 20 minutes. It’s easy, dependable, and packed with protein your whole family will love.
Indoor Grilling Essentials: What You Really Need
Great stovetop chicken doesn’t happen by accident it happens because of heat control and the right tools. If you want true Stovetop Grilled Chicken Breast with real sear marks and deep flavor, your equipment matters more than you think.
Cast Iron Grill Pan vs. Non-Stick: Why Cast Iron Wins
A cast-iron grill pan is the gold standard for indoor grilling.
- Holds heat evenly
- Creates defined grill marks
- Builds better crust
- Mimics outdoor grill performance
Cast iron retains and distributes heat more efficiently than non-stick surfaces, which is critical for triggering the Maillard reaction the browning process responsible for flavor development.
Non-stick pans can work, but they won’t give you the same char or depth.
No Grill Pan? Here’s What to Expect
If you’re using a standard skillet:
- You won’t get ridged grill marks
- You’ll still get excellent browning
- Flavor stays strong if heat is correct
This still qualifies as Grill Pan Chicken style cooking just without the stripes. And honestly? Flavor matters more than aesthetics.
Essential Tools for Success
To consistently nail one of the best Juicy Grilled Chicken Recipes, keep these tools nearby:
- Tongs – For safe flipping without piercing the meat
- Meat thermometer – Chicken should reach 165°F internally
- Splatter guard – Helps control smoke and mess
A thermometer especially removes the guesswork. That’s how you avoid dry chicken forever.
How to Prep Chicken for Perfect Stovetop Grilling
Great results start before the chicken ever hits the pan. If you want true Indoor Grilled Chicken Breast with juicy centers and bold flavor, preparation is everything.
This is where many home cooks accidentally sabotage their results, but not you. Let’s fix that.
Pounding for Evenness: Why Thickness Matters
Chicken breasts are naturally uneven. One end is thick, the other thin which means one side dries out before the other finishes cooking.
Lightly pounding your Boneless Skinless Chicken Breast to an even thickness:
- Promotes uniform cooking
- Prevents dry edges
- Helps create consistent grill marks
- Reduces total cook time
You don’t need to flatten it paper-thin. Just aim for even thickness across the breast.
Patting Dry: The Science Behind a Good Sear
Moisture is the enemy of browning.
When surface water hits a hot pan, it creates steam — and steam prevents searing. Patting the chicken dry with paper towels allows high heat to directly contact the protein.
This encourages the Maillard reaction, the chemical process that creates deep flavor and that golden crust. If you’re curious about the science behind proper searing and safe internal temperatures, the USDA explains it well here:
[Insert External Science Link Here]
Dry surface = better crust. Always.
The Seasoning Strategy: Oil the Chicken, Not Just the Pan
Instead of only oiling the pan, drizzle olive oil directly over the chicken before adding seasoning.
Why?
- Helps spices adhere evenly
- Encourages better browning
- Prevents dry, dusty seasoning
- Promotes a balanced crust
This simple method is also foundational in many Pan Grilled Chicken Recipes, especially when aiming for bold flavor without marinades.
And speaking of marinades if you ever want to expand this recipe, this seasoning base also works beautifully as the foundation for the Best Grilled Chicken Breast Marinade variations.
The Secret to Bold Grill Marks & Big Flavor
If you’re making one of the Best grilled chicken recipes on stove, you want those beautiful char lines — but more importantly, you want flavor. Grill marks aren’t just pretty. They signal proper browning and deep taste.
Here’s how to get them right.
The “Don’t Touch” Rule
Once the chicken hits the hot pan leave it alone.
Resist the urge to move it, press it, or peek underneath. Let it sit undisturbed for 6–8 minutes.
Why?
- Allows crust to develop
- Prevents sticking
- Builds stronger sear lines
- Locks in juices
This resting contact with heat is what makes true Stovetop Grilled Chicken Breast taste grilled instead of steamed.
Heat Management: Medium-High Is the Sweet Spot
Your pan should be fully preheated before the chicken goes in around 375–450°F surface temperature.
If you notice excessive smoke:
- Slightly lower the heat
- Keep ventilation on
- Avoid overcrowding the pan
Too low and you won’t get sear. Too high and spices can burn before the inside cooks through.
Balance is everything in great Juicy Grilled Chicken Recipes.
Using a Press for Deeper Marks (Optional)
If your chicken isn’t making full contact with the ridges, you can gently place a heavy skillet on top for the first minute of cooking.
This:
- Increases surface contact
- Enhances grill marks
- Encourages even browning
But use it lightly pressing too hard can squeeze out juices.
When done right, you’ll have beautifully charred, flavorful chicken that rivals outdoor grilling all from your stovetop.
How to Grill Chicken Breasts Step by Step
Step 1: Preheat your grill pan over medium-high heat (about 375–450°F). Lightly coat the grill pan ridges with oil to prevent sticking and ensure proper searing.
Step 2: In a small bowl, mix together the kosher salt, black pepper, ground cumin, chili powder, onion powder, and garlic powder until evenly combined.
")
Step 3: Drizzle the olive oil over the chicken breasts, then rub the prepared seasoning mixture evenly over both sides until fully coated.
")
Step 4: Once the grill pan is fully heated, place the seasoned chicken breasts onto the pan. Cook for 6–8 minutes, then flip and cook for another 6–8 minutes (about 12–15 minutes total), until the chicken is fully cooked through.
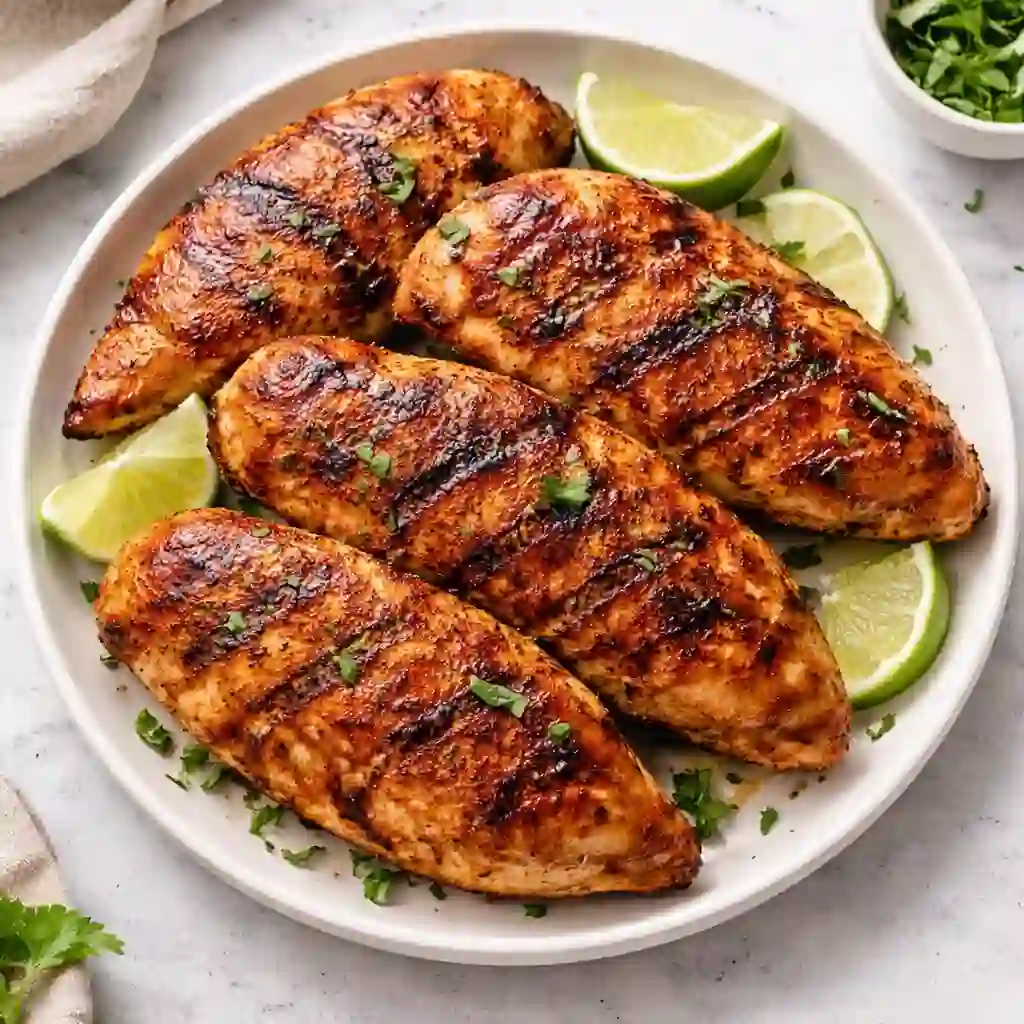
Step 5: If desired, squeeze fresh lime juice over the cooked chicken and sprinkle with chopped fresh cilantro before serving.
How to Serve Stovetop Grilled Chicken (Easy Meal Ideas)
Once you’ve mastered one of the Best grilled chicken recipe on stove, the fun really begins. This chicken is incredibly versatile, which makes it perfect for busy weeknights, meal prep, or casual gatherings.
Here are my favorite ways to serve it.
Taco Night Favorite
Slice the chicken against the grain and tuck it into warm tortillas.
The cumin and chili powder seasoning pairs beautifully with:
- Fresh pico de gallo
- Sliced avocado
- Shredded lettuce
- A squeeze of lime
This is especially perfect if you’re using your Grill Pan Chicken for a quick, flavor-packed dinner.
Protein-Packed Salad Toppers
Thinly slice your Stovetop Grilled Chicken Breast and layer it over:
- Romaine or mixed greens
- Cherry tomatoes
- Cucumber
- Red onion
- A light vinaigrette
It turns a basic salad into a filling, high-protein meal.
Build-Your-Own Grain Bowls
This chicken works beautifully in rice or quinoa bowls.
Try pairing with:
- Steamed white or brown rice
- Black beans
- Roasted bell peppers
- Corn
- A dollop of plain yogurt or tahini sauce
It’s one of those Juicy Grilled Chicken Recipes that adapts to almost any flavor profile Mediterranean, Tex-Mex, or simple American comfort.
How to Store & Reheat Grilled Chicken (Meal Prep Guide)
One of the best things about these Best grilled chicken recipe on stove is how well they hold up for meal prep. When stored properly, your chicken stays flavorful, tender, and ready to use all week.
Here’s how to do it right.
Refrigerator Storage
Let the chicken cool completely before storing.
- Place in airtight glass containers
- Store in the refrigerator for 3–4 days
- Keep sliced and whole pieces separate if possible
Freezer Instructions
Want longer storage?
- Wrap each piece individually in plastic wrap
- Place wrapped pieces in a freezer-safe bag
- Freeze up to 3 months
Individually wrapping makes defrosting quick and convenient especially helpful if you’re prepping multiple Pan Grilled Chicken Recipes at once.
Reheating Without Drying It Out
Chicken dries out easily when reheated aggressively.
To keep your Stovetop Grilled Chicken Breast moist:
On the stove (best method):
- Add a splash of broth or water to a skillet
- Heat over medium-low
- Cover briefly to trap steam
Microwave method:
- Use 50% power
- Cover with a damp paper towel
- Heat in short intervals
Gentle reheating protects the texture that makes these some of the most reliable Juicy Grilled Chicken Recipes for meal prep.

Conclusion
If you’ve ever thought stovetop chicken couldn’t compare to outdoor grilling, this recipe proves otherwise. With the right pan, proper prep, and controlled heat, you can create juicy, flavorful chicken with beautiful grill marks all in under 20 minutes. It’s simple, reliable, and perfect for busy weeknights or weekly meal prep.
Give this recipe a try and see just how easy indoor grilling can be. When you make it, leave a comment and let me know how it turned out, and don’t forget to save or share it so you always have one of the best grilled chicken recipes on the stove ready to go.
Recipe FAQs
 1")
Best Grilled Chicken Recipes on Stove
Equipment
- grill pan or stovetop grill
- Small mixing bowl
- Tongs
- meat thermometer
Ingredients
- 0.5 teaspoon kosher salt
- 0.25 teaspoon ground black pepper
- 0.5 teaspoon ground cumin
- 1 teaspoon chili powder
- 0.5 teaspoon onion powder
- 0.25 teaspoon garlic powder
- 2 tablespoons olive oil
- 2 pounds boneless skinless chicken breasts
- fresh lime juice (optional)
- chopped fresh cilantro (optional)
Instructions
- Heat the grill pan to medium-high heat (375–450°F) and coat the grates or pan with oil.
- Combine the salt, pepper, cumin, chili powder, onion powder, and garlic powder in a small dish.
- Drizzle the olive oil and rub the seasoning over the chicken breasts, coating them entirely.
- Place the chicken on the heated grill and cook for 6–8 minutes. Flip and cook another 6–8 minutes (12–15 minutes total), until the internal temperature reaches 165°F.
- Squeeze fresh lime juice over the chicken and sprinkle with chopped cilantro if desired before serving.


 13")
